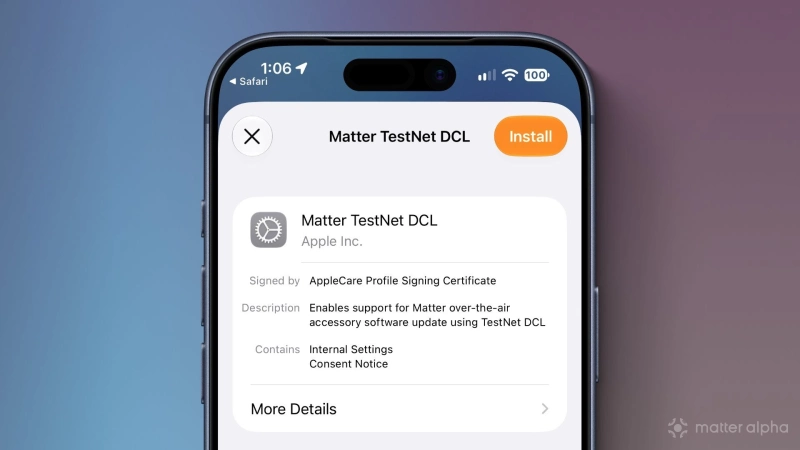
Want to experience the latest features, bug fixes, and performance improvements for your Matter devices before their firmware updates are made available to the general public? We'll, if you’re willing to get your hands a little "dirty", then you can do just that by pointing your Apple Home hub to the Matter TestNet DCL.
It’s not quite as easy as tapping “UPDATE” in Apple Home, but the process isn’t too complicated once you know what to do. In this guide, you'll find step-by-step directions so you can live on the bleeding edge with your Matter devices today.
Why you should—and shouldn't—download TestNet updates
Before we begin, it's important to note that the Matter TestNet DCL is primarily intended for hardware development and testing purposes only. Firmware may spend months on the TestNet DCL and experience several software revisions before it sees the light of day—if it is ever released at all.
As such, downloading and applying test firmware to your Matter devices may result in some unexpected behaviors. These can include compatibility issues with your smart home platform or devices on your network, degraded battery performance, and potentially even bricked and unrecoverable devices.
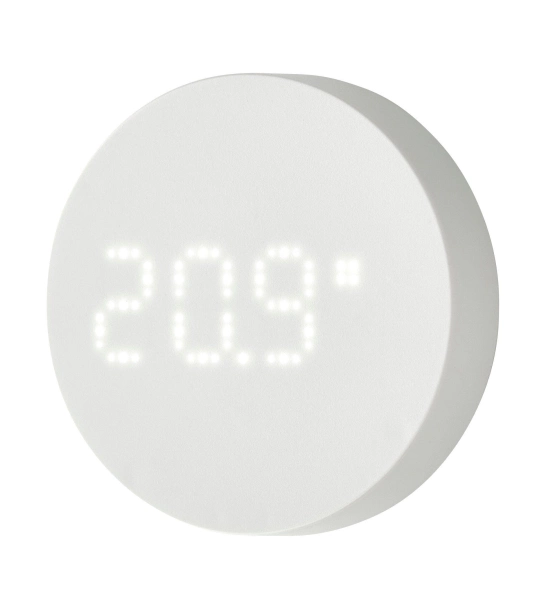
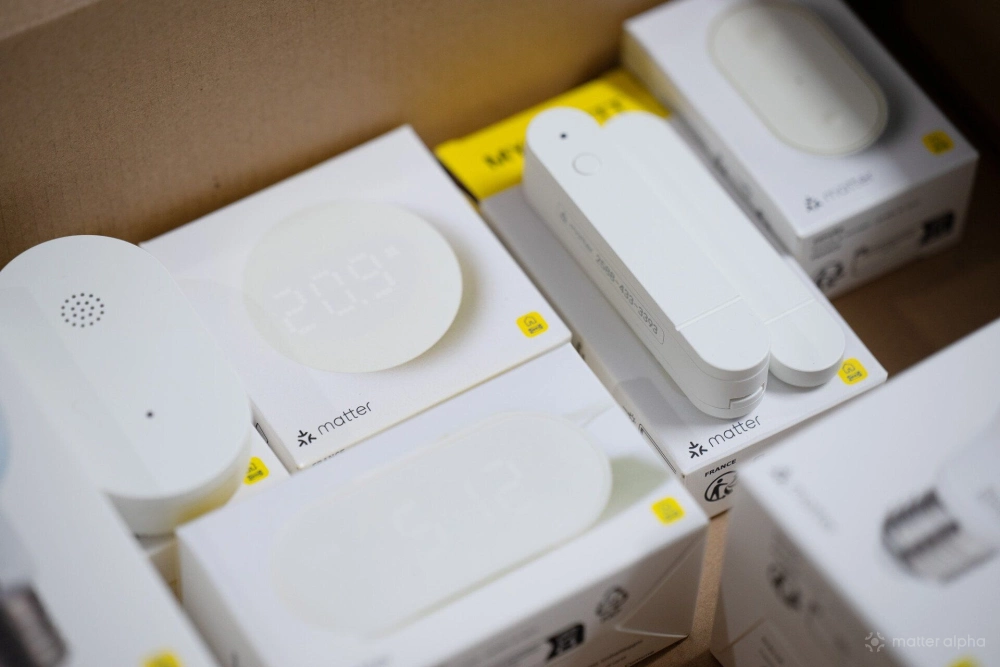
TIMMERFLOTTE Temperature and Humidity Sensor
A simple, compact indoor sensor that displays temperature and humidity levels at the press of a button.
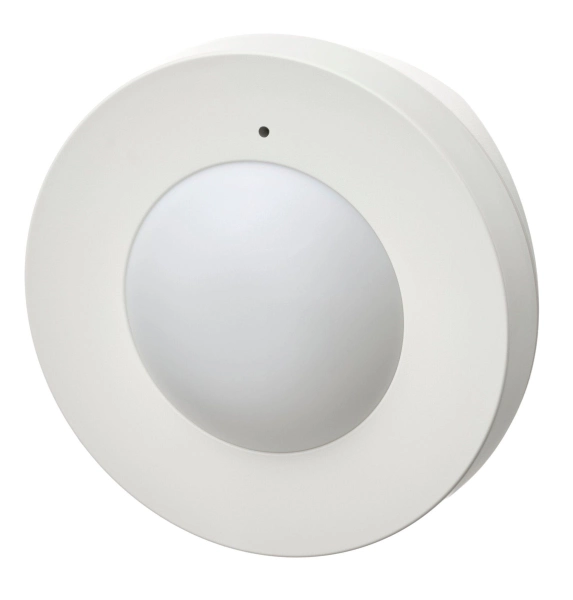
MYGGSPRAY Motion Sensor
A versatile motion sensor that automatically activates lighting indoors or outdoors when movement is detected.
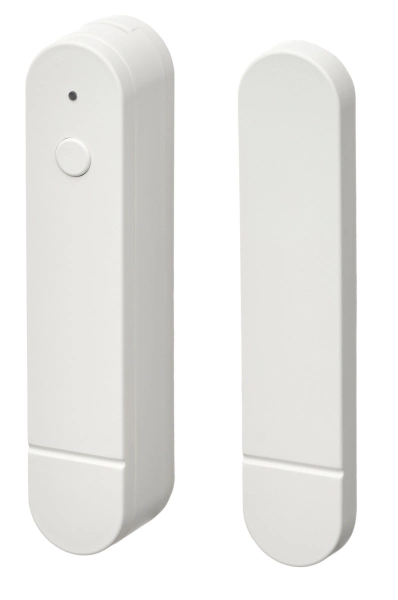
MYGGBETT Door/Window Sensor
A smart, discreet sensor that detects door or window movement and can trigger notifications or automate lighting.
That said, if you understand the risks associated with downloading non-finalized firmware, then there are certainly some benefits that can come from being an early adopter. For instance, IKEA has recently added firmware updates to the TestNet DCL that aim to address some of the negative feedback on the company's unsolved issues with Matter.
According to IKEA's release notes, version 1.2.2 of the TIMMERFLOTTE Temperature and Humidity Sensor's firmware has bumped the device up to the Thread 1.4 and Matter 1.5 specifications. And while it's more generalized, firmware version 1.1.6 for the MYGGSPRAY motion sensor and version 1.1.6 for the MYGGBETT contact sensor feature "Improved Thread connectivity".
Apple Home TestNet updates: What you'll need
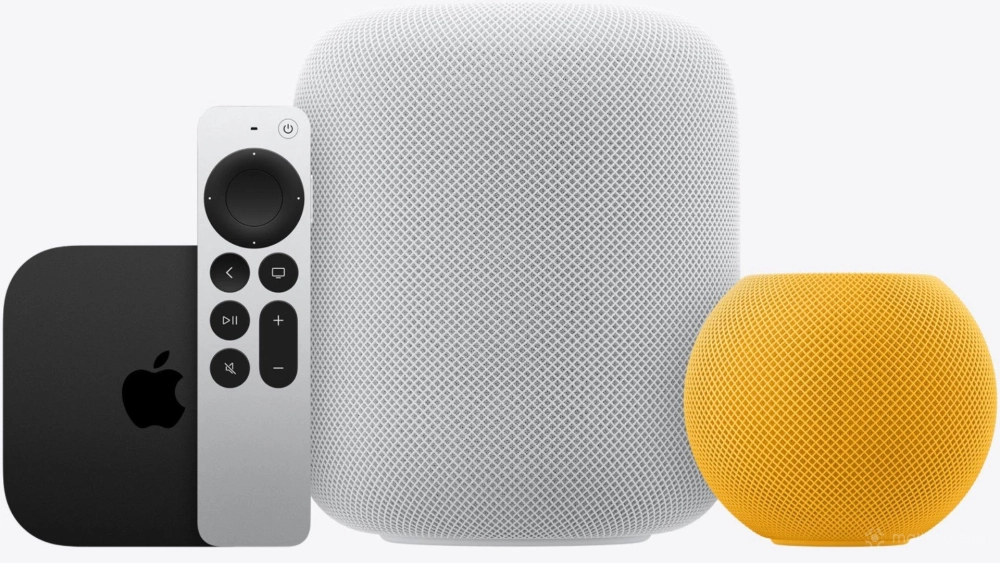
As we mentioned earlier, accessing the TestNet DCL isn’t quite as simple as updating Matter devices in the Apple Home app. For starters, you'll need an Apple Developer account—don't worry, anyone can join, and it's completely free—which you'll need to download the Matter TestNet DCL configuration profile for your primary Apple Home hub.
There are currently three ways to install the profile, all of which require an iPhone, iPad, or Mac running the latest software releases. The process for the HomePod/HomePod mini is by far the easiest, as you can send the profile directly from your mobile device with just a few taps.
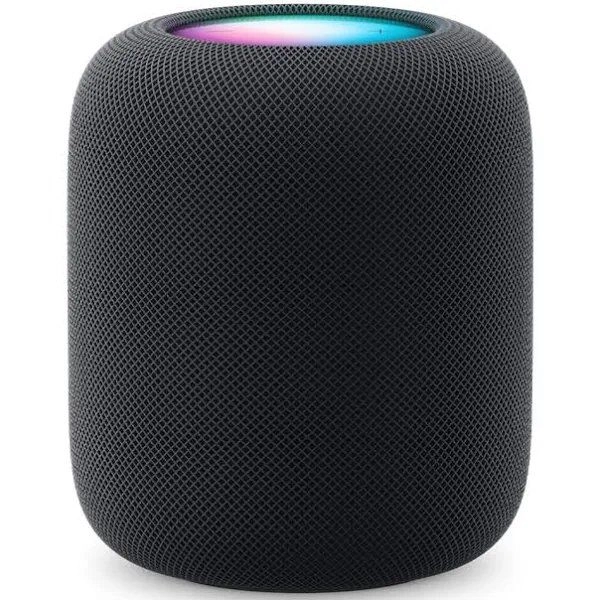
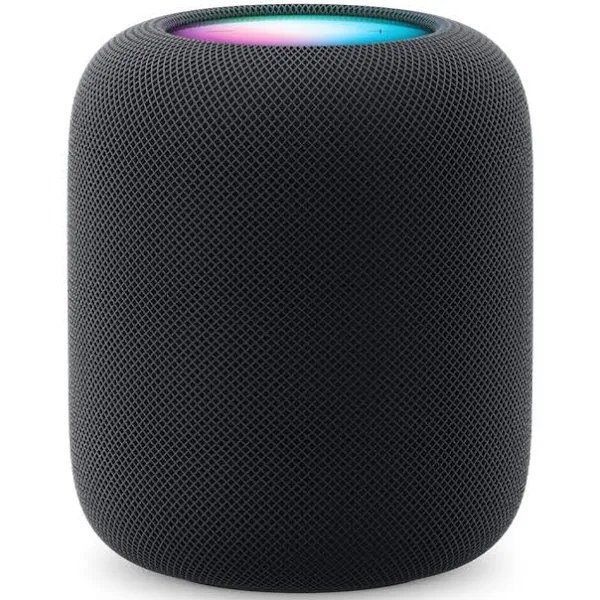
Apple HomePod (2nd Gen)
The HomePod (2nd Gen) is a powerful hub from Apple that delivers immersive, high-fidelity audio and intelligent assistance, while seamlessly integrating with your Apple devices and smart home accessories; it's also a key component for Matter compatibility, ensuring broad connectivity with a range of smart home devices.
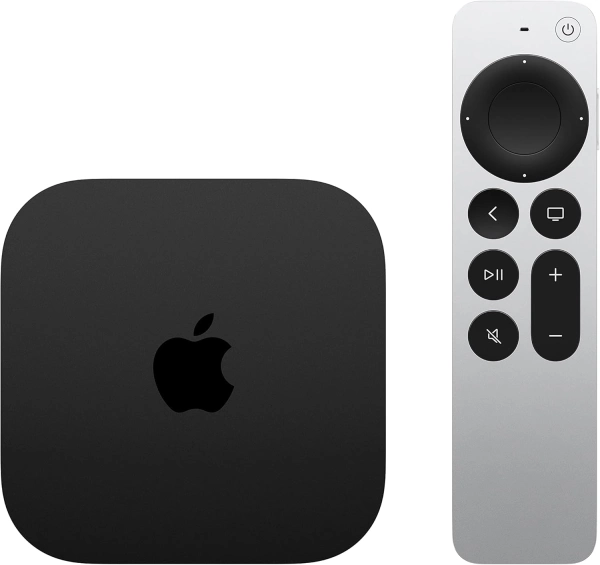
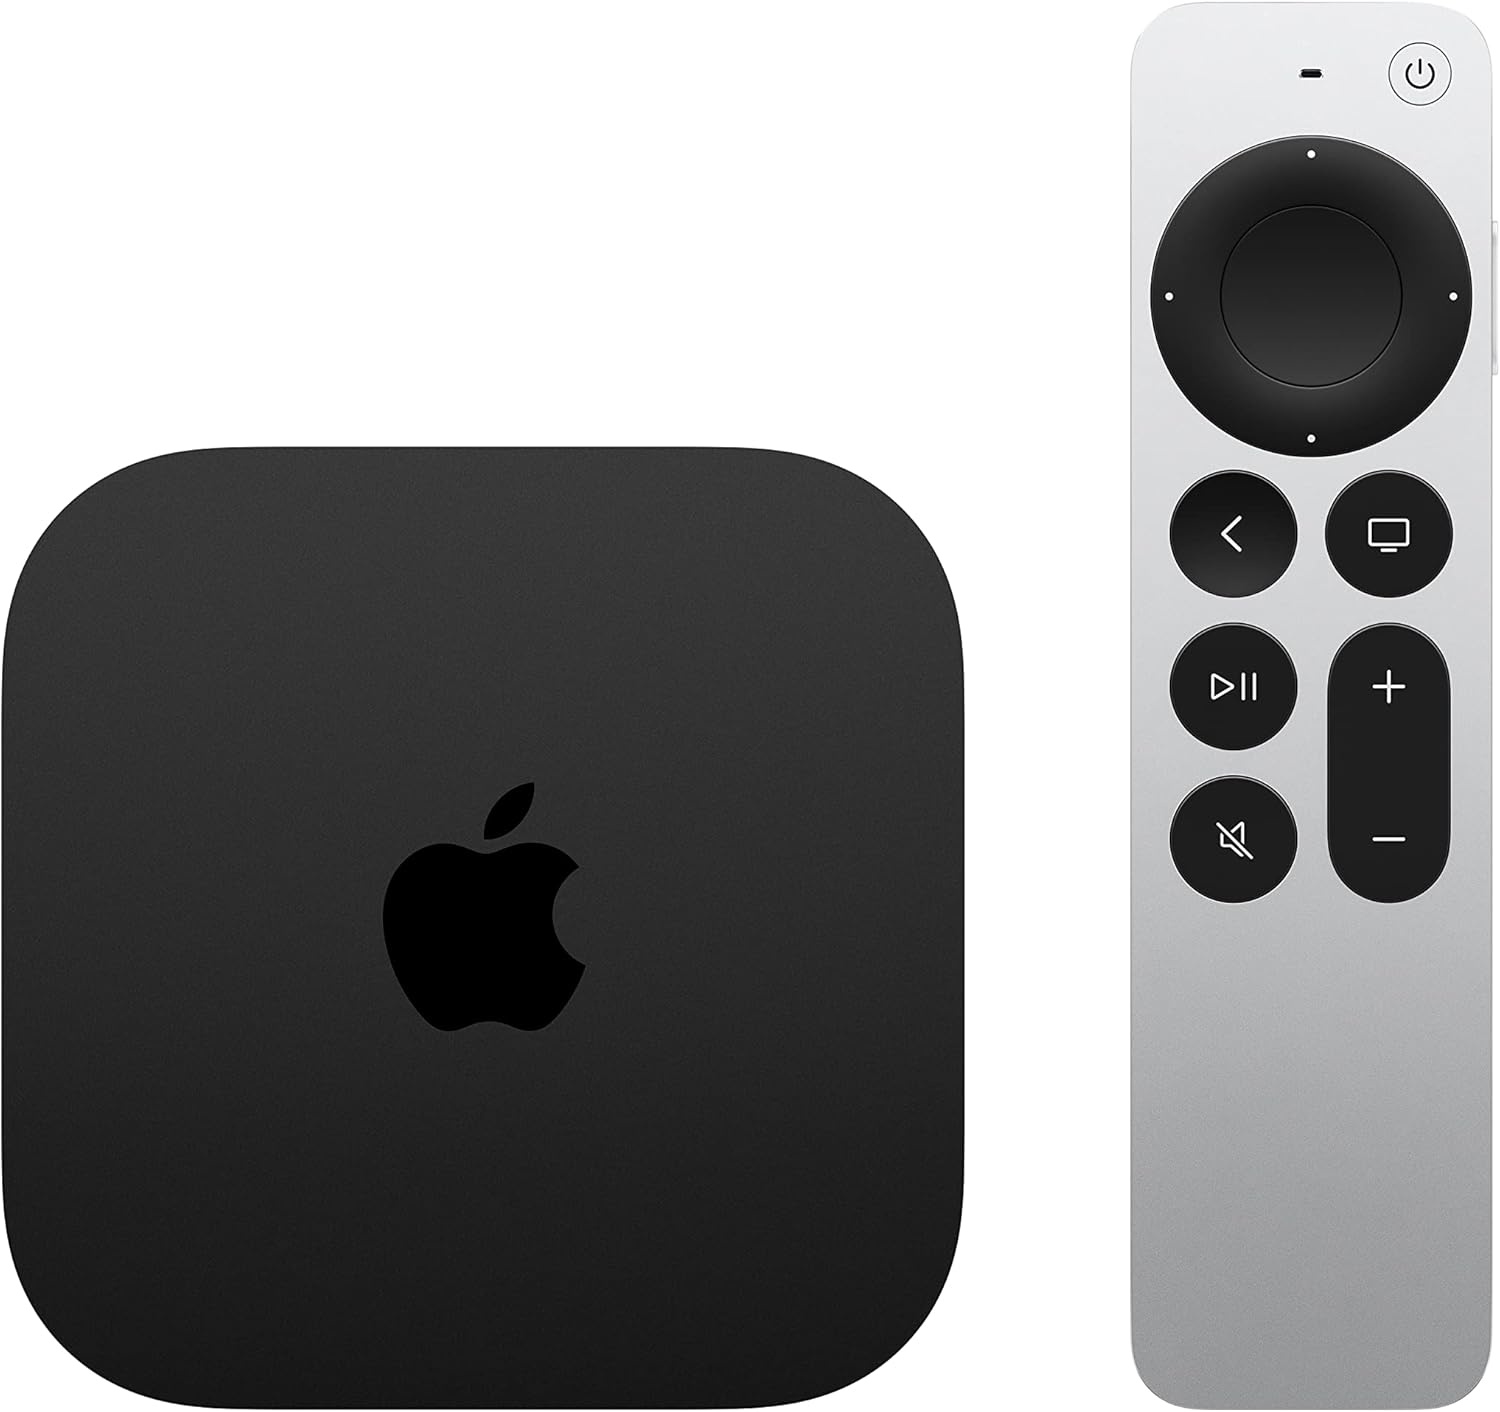
Apple TV 4K (3rd gen, 128 GB)
A powerful 4K media player with expanded storage, advanced video and audio support, and smart home hub functionality.
It's a different story for the Apple TV, as it needs a little more intervention to get the ball rolling. If you only have an iOS device, you'll need to upload the profile to a cloud drive service—such as Dropbox or Google Drive—and then enter the URL into a hidden menu in tvOS settings to access it.
Alternatively, if you have a Mac, you can use the Apple Configurator app—free on the macOS App Store—to transfer the profile locally. While it does entail a few additional on-device confirmations for security reasons, loading the profile via Apple Configurator is mostly a drag-and-drop affair.
We've outlined all three methods below, and once you have the profile installed on your home hub, downloading and installing beta updates from the TestNet DCL takes place all from the comfort of the Apple Home app.
How to install the TestNet profile for HomePod and HomePod mini
The entire process for adding the TestNet profile to Apple's HomePod smart speakers takes place on your iOS device.To begin:
- Tap here, then register/log in to an Apple Developer account.
- Tap Allow when prompted to download the configuration profile.
- Tap Other Devices…
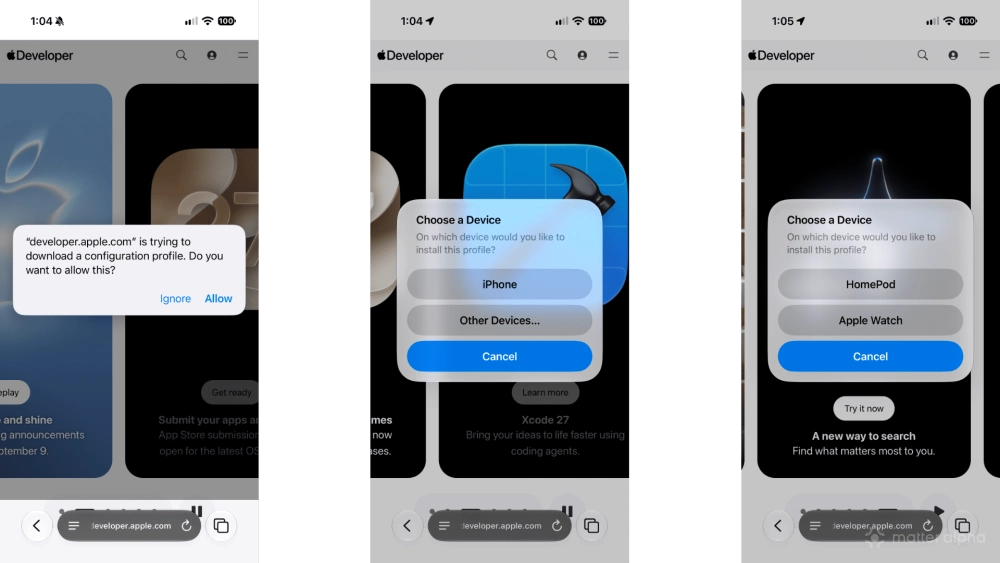
- Tap HomePod.
- Tap Install.
- Enter your iPhone Passcode.
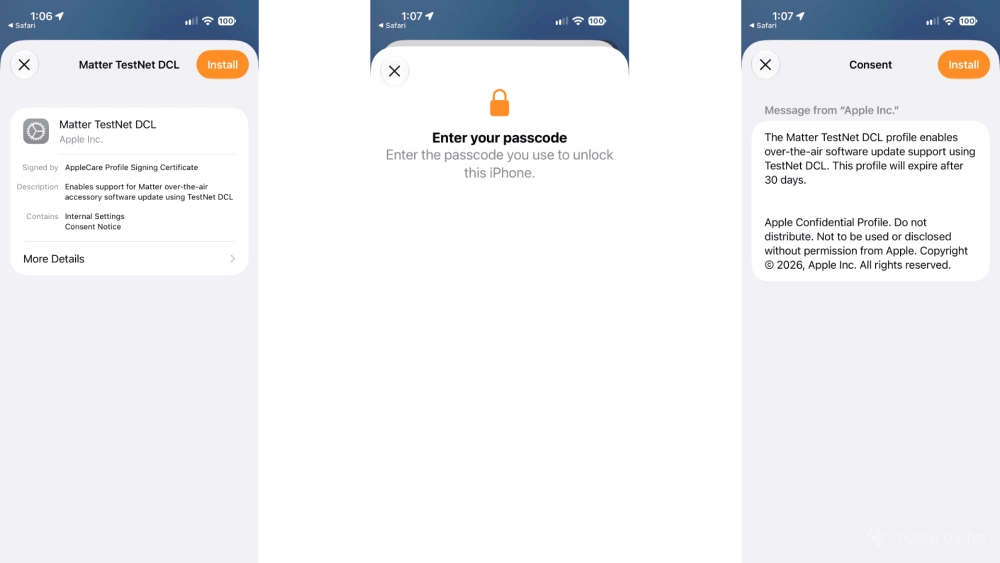
- Tap Install.
- Tap Install again.
- Tap the HomePod that you wish to add it to, or tap All.
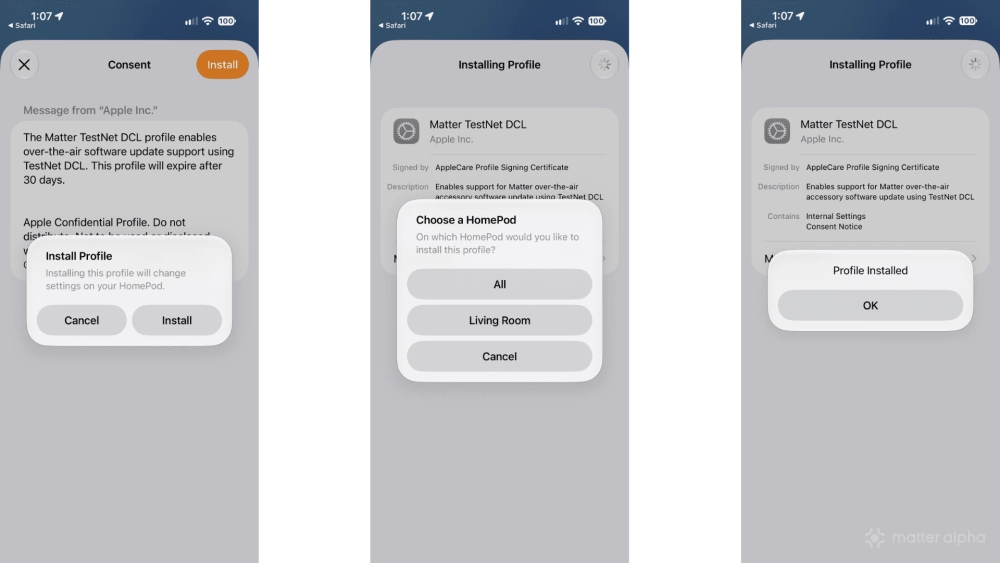
- Tap OK.
- Restart your HomePod.
Depending on your smart home setup, you may be able to restart your HomePod/HomePod mini via the Apple Home app. Tap the Reset option if it appears in the HomePod's device settings, then tap Restart—just be absolutely certain to read the prompts before proceeding.
Alternatively, if the option is not available, you'll need to manually remove it from its power source, then plug it back in.
How to install the TestNet profile for Apple TV with a Mac
Since the Apple TV lacks a file and internet browser, you'll need another device to get the profile loaded. One way involves a Mac and the Apple Configurator app:
- Click here, then register/log in to an Apple Developer account.
- Click Allow to download the configuration profile.
- Download and launch the Apple Configurator app from the App Store.
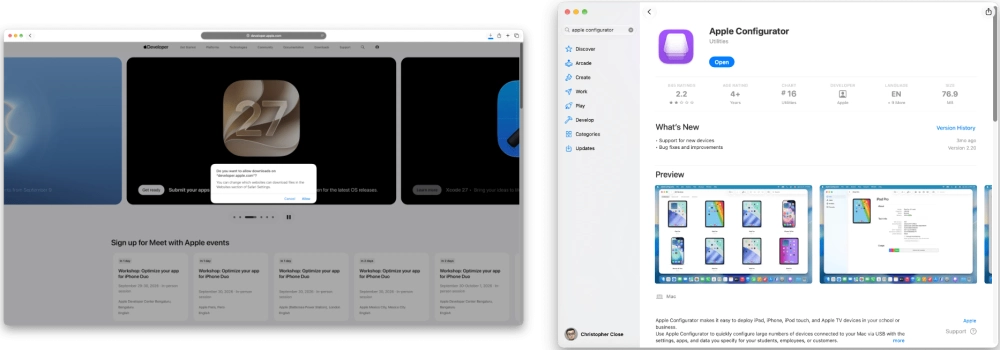
- Click Apple Configurator in the Menu Bar.
- Click Paired Devices.
- Double-click your Apple TV once it appears.
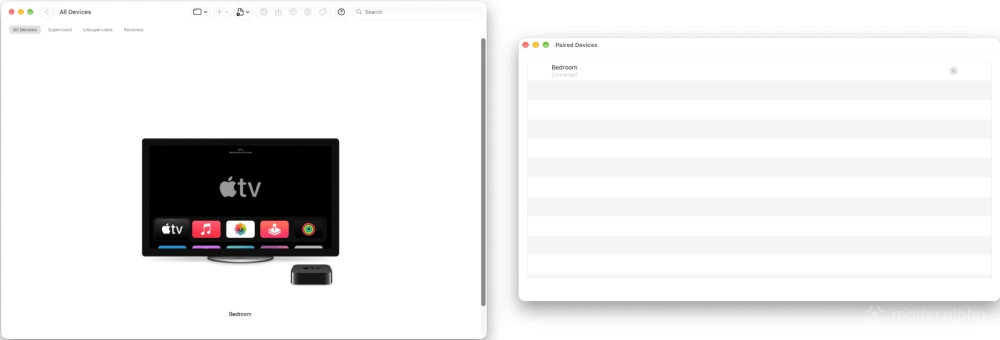
- Enter the six-digit code that appears on your Apple TV screen.
- Return to the main Apple Configurator window.
- Drag and drop the TestNet DCL configuration profile to your Apple TV.
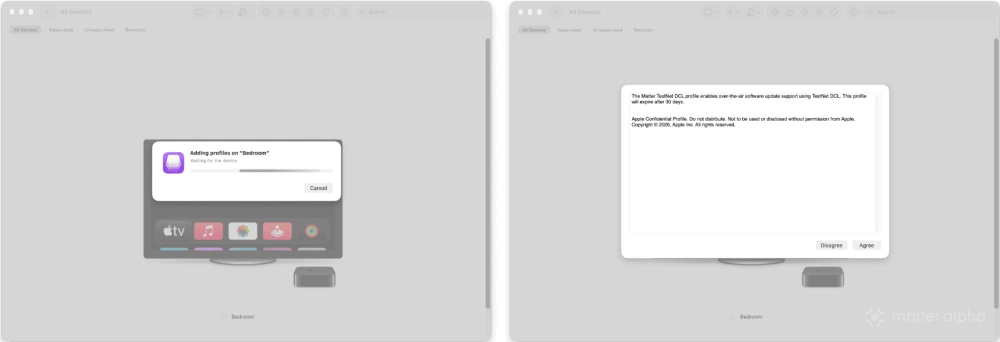
- Click Agree.
- Using your Siri Remote, confirm the configuration profile on your Apple TV.
- Restart your Apple TV.
While iOS 27 finally added the ability to update Apple TVs via the Home app, the option to restart it remains elusive. To restart it, you'll either have to navigate to System Settings on the device, unplug it for five seconds, or by pressing and holding the TV button and Back/< on your Siri remote.
How to install the TestNet profile for Apple TV via a URL
Another way to install the profile on your Apple TV is by utilizing a cloud storage service, then entering the URL into Settings. The steps are the same regardless of whether you are attempting it via a Mac or iOS device:
- Click here, then register/log in to an Apple Developer account.
- Click Allow to download the configuration profile.
- Upload the file to a cloud storage service or to a custom server.
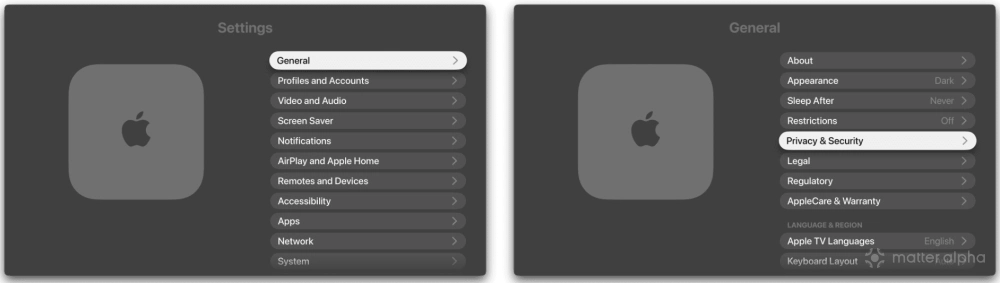
- Launch the Settings app on your Apple TV.
- Click General.
- Click Privacy & Security.
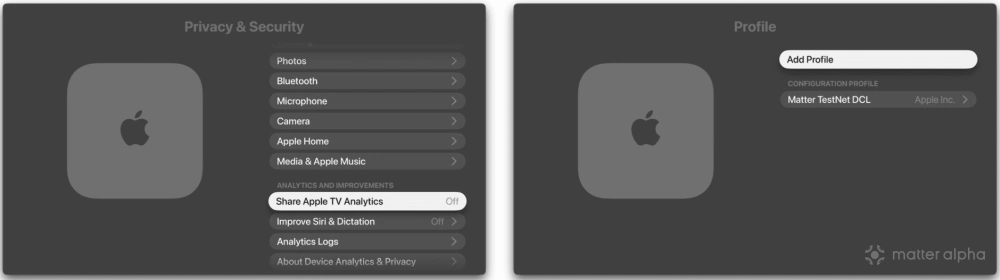
- Highlight Share Apple TV Analytics, then click the Play/Pause button on your Siri Remote.
- Click Add Profile.
- Enter the URL where the configuration profile is stored, then click Done.
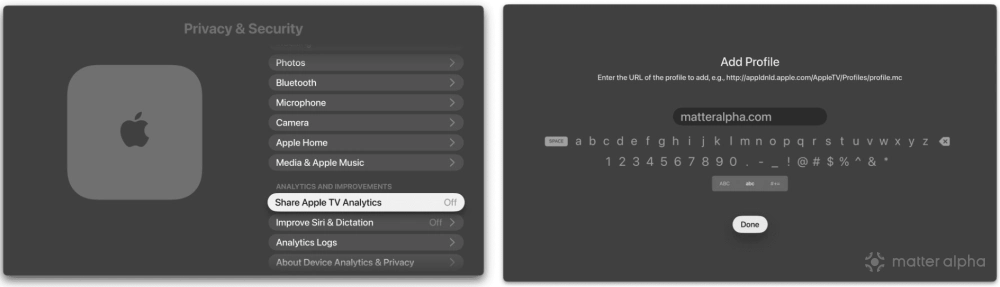
- Confirm the profile and click Install.
- Restart your Apple TV.
Like the other methods, you'll need to restart your Apple TV before the Home app sees TestNet firmware updates. You can do this by unplugging the box or using your Siri Remote.
Get ahead of the game with the TestNet DCL
With the configuration profile installed on your primary Apple Home hub, you can now access TestNet beta firmware updates for your devices. When you are ready, head on over to Home Settings and then tap Software Update to see if there are any available updates.
Beta firmware should now appear just like finalized production releases, and all it takes to install them is to tap the UPDATE button. And remember, you must restart your preferred Apple Home hub before they become available, so don't fret if you don't see any at first.
(Source: Christopher Close/Matter Alpha)