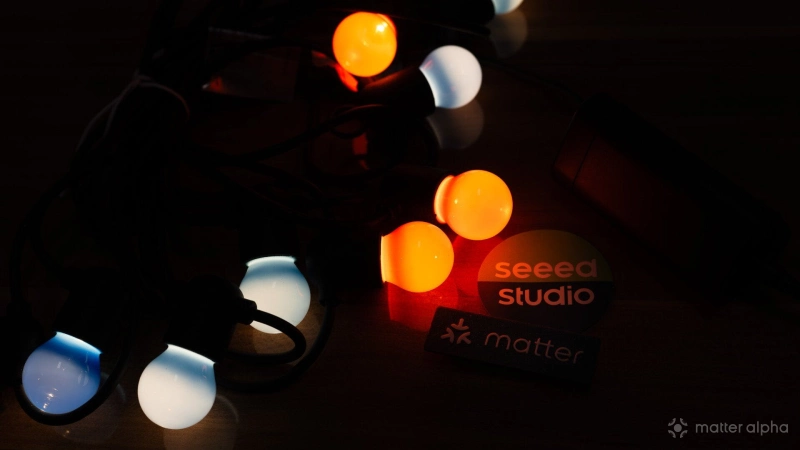
The IKEA SOLVINDEN lighting series is an affordable favorite for seasonal decor, but it lacks native smart connectivity out of the box. Fortunately, its bulky 3-AA battery pack makes it the perfect candidate for a DIY Matter upgrade.
Once the original internals are removed, the enclosure provides plenty of room to hide a compact ESP32 microcontroller and an LED driver. With a little effort, you can easily transform these basic budget lights into a Matter-compatible device. Here is a simple guide to utilize Tasmota, a notable ESP-based open software, to modify SOLVINDEN holiday light strips.
Difficulty: Moderate (code-free but requires extra work to assemble and configure)
Prerequisites
-
SEEED XIAO C5 (or C3/C6/S3)
-
A 5V PWM driver board
-
Several jumper wires
-
Soldering iron
-
IKEA SOLVINDEN LED series (Mono-color, 3-AA battery pack)
-
12V DC power supply
-
Electrical tape
Assembly
Unbox all the components. Safely seat the SEEED XIAO board onto the LED driver board. Ensure the USB port is facing the outer edge. If you are using the SEEED XIAO C5, you need to install the antenna included in the box. When attaching antennas to your XIAO board, be extremely careful with the connector, as they are fragile. You will feel a gentle click when the connector is firmly in place.
For the unsoldered version, you need to manually solder PINs (at least for GND, 5V, and GPIO 1).

Disassemble the SOLVINDEN battery pack. Start with the large screw in the middle to take out the main battery holder. Remove the rest of the original electronic parts, which are no longer needed. Crop the cable that connects the original circuit board to the light strip. Connect the black wire to VOUT- and the white wire to VOUT+.

Solder a wire to the control pin (J1 for my board), which accepts digital commands to toggle the light power like a relay or a PWM dimmer. Connect the other end of this wire to the A0 pin on the LED driver board.
Next, connect the 5V and GND terminals from the same group on the LED driver board to the VIN+ and VIN- inputs on the PWM driver board.
Connect the 12V DC power supply to the LED driver board, and plug a USB cable from the XIAO into your computer. Make sure to use a USB cable that supports data transfer, as you are now ready to flash the firmware.
Warning: Be careful handling the LED Driver Board! It could be running hot at full output. Also, please avoid touching the area near the LED output terminals.
Flash and configure
Open the Tasmota web installer using Chrome, Edge, or another browser built on a recent version of the Chromium engine.
Click connect, allow the browser permission prompt, and select your connected device from the list. Follow the on-screen flow to erase the chip and install Tasmota. The default guide uses the English version, but you can select an alternative language for the Tasmota web interface if desired.

Wait for the board to reboot.

Click Install and Erase device to proceed, till you see an "Installation Complete" notice.

Open the Wi-Fi settings on your computer or phone and look for a new access point named something like “Tasmota-XXXX-XXXX”, then connect to it.

Wait patiently until the connection succeeds and redirect you to the network manager. Set up your local Wi-Fi connection from this onboarding portal. You can use 5Ghz access point, which is powered by ESP32-C5 chipset. It should run better than over the often crowded 2.4Ghz radio. Once the board successfully connects to your home router, it will provide you the new IP address for Tasmota web console access.
Enter its new IP address in your browser for further configuration.

There are two ways to control the light: toggle or dim control. From the main menu, go to Configuration, then Module. Set the A0 GPIO1 pin to "Relay" and "1". Save your settings and wait for the device to reboot. A new toggle will appear on the main page. Click it to test if the light strip turns on. If the light behaves in reverse, change the setting from "Relay" to "Relay_i" to flip the relay control.

Return to the Configuration menu, go to Matter, and toggle the Matter enable checkbox. The device will reboot on saving. Once it is back up, you will see a Matter onboarding QR code that expires within 10 minutes. Don’t rush it. Go back to the Matter settings first.
In the local sensor or driver section, assign a name to your light. If it is not listed under Current Configuration, add one below, selecting "Light 0 OnOff," and "input 1" for the Parameter.

Alternatively, if you want to explore dimming the light strip, you can set A0 GPIO1 pin to "PWM" for module configuration, and choose "Light 1 Dimmer" in the Matter settings. However, the dimming curve is hard to fine-tune. Especially with cheaper light sources, you may experience low-frequency flickering.
Using a simple on/off profile usually provides a better and stable experience for SOLVINDEN.

Once it is saved, the changed device name would be synced with Matter platforms when you add it.
Smart home setup and wrapping up
When you have configured all the settings, scan the QR Code for Matter pairing (you can re-enable it in Matter configuration page if you missed the pairing window.) Use any Matter supported platform to add the light.

During testing, the device paired easily with Apple Home and Home Assistant. Thanks to the power of the ESP32-C5 chip and the active Tasmota community, it runs incredibly well and remains stable over Matter. I also tried it with IKEA Home Smart along with DIRIGERA Hub, which works great and can pair with an IKEA dimmer or sensor for control.

After testing is complete, tuck all the components into the empty battery pack case, which is spacious enough to hold the new parts. Use electrical tape for insulation if needed.

Make sure to expose the DC power connector through the large screw hole on the end.

Close the case. The original rubber seal is enough to hold things tight, but you can use extra tape to secure the housing if needed.
(Image: Matter Alpha/Ward Zhou)