Home Assistant is a free and private way to control your smart home. Since the software is open source, you can even download Home Assistant to your own PC or Raspberry Pi and create your own Matter hub. But once you do, how do you go about adding Matter devices?
You first need to know where to look
Home Assistant is the most powerful smart home platform you can adopt today, but it’s not as intuitive as alternatives like Apple Home or Samsung SmartThings. Some parts of Home Assistant are overly technical, while others are just a bit confusing.
For starters, at first launch, Home Assistant may automatically detect a few devices on your home network. After that, you find yourself looking at an empty dashboard. There’s no obvious “add” button visible anywhere.
To add a device, you need to go to the sidebar (which may require tapping the hamburger menu in the top left if this is on a mobile device), and opening Settings toward the bottom of the screen. Here you’ll find all the various categories of smart features you may need for your smart home, from adding devices, to creating rooms and automations.
How to add a Matter device in Home Assistant
Now that you’ve opened Settings, you then want to select Devices & services.
Here you'll see the various ways you can integrate products into your smart home. For Matter, here’s the most straightforward approach:
- Select the devices tab at the bottom.
- Tap the add device button.
- Select add Matter device.

At this point, Home Assistant will ask if the device you're attempting to add is already in use. If it’s brand new or has been factory reset, you want to select No. It’s new. If the Matter device has already been configured and remains active in another Matter controller (Google Home, Samsung SmartThings, etc.), then you’ll want to select Yes. It’s already in use.
The process varies from here based on which you select.
Adding a brand-new device
From this point on, adding a new device in Home Assistant thankfully isn’t that different from the process in other smart home platforms.
Make sure your phone or computer is connected to the network you want your Matter device to operate on. Home Assistant will not prompt you to enter a network manually, and will instead automatically add the device to your current one.
You start by snapping a picture of a Matter QR code or by typing in a Matter setup code manually.

Then you watch as Home Assistant detects your hardware, adds it to the network, and finishes setting up the device. When it’s done, it will prompt you to give the device a name and add it to a room.
Adding a device already in-use
Matter setup codes are only valid the first time they’re added to a hub and won’t be of any use unless you factory reset your device. To add a device that’s already active, you need to generate a transfer code from your original smart home platform.
I originally set up my smart home using Samsung SmartThings. I can select a Matter device in SmartThings and generate a new QR code to scan from another device or simply tap Share with other services. I can then select from SwitchBot (since I have a SwitchBot Hub 3) or Home Assistant. After tapping Home Assistant, a brief wizard appears that goes through the quick process of adding my device over.

Home Assistant and Matter are a natural fit
Unlike traditional internet-connected smart devices, Matter devices don’t need a connection to a remote server and can operate entirely on your home network. Unfortunately, most of the major smart home platforms we use to control these devices operate in the cloud.
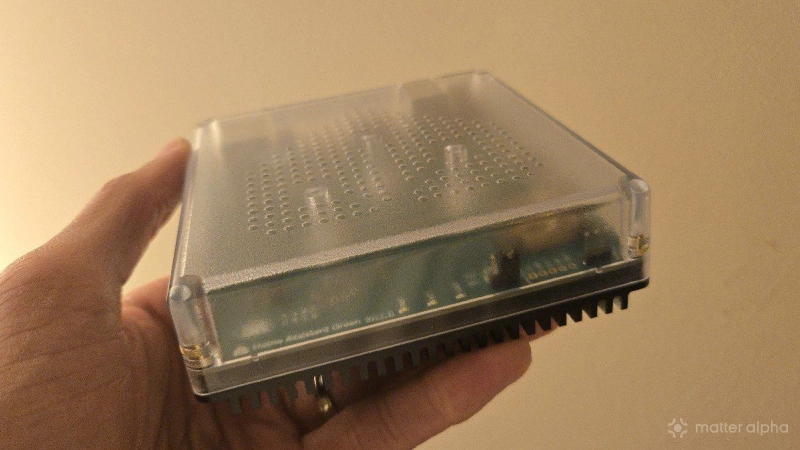
Home Assistant lives on a computer within your own home. When combined with Matter, you can create a smart home that doesn't rely on the web. Your daily usage remains private and safe inside your home. You don’t need to be overly technical to get started. You can get started with Home Assistant I did, by purchasing Home Assistant Green, a tiny little pre-configured and energy-efficient PC you plug into your router.