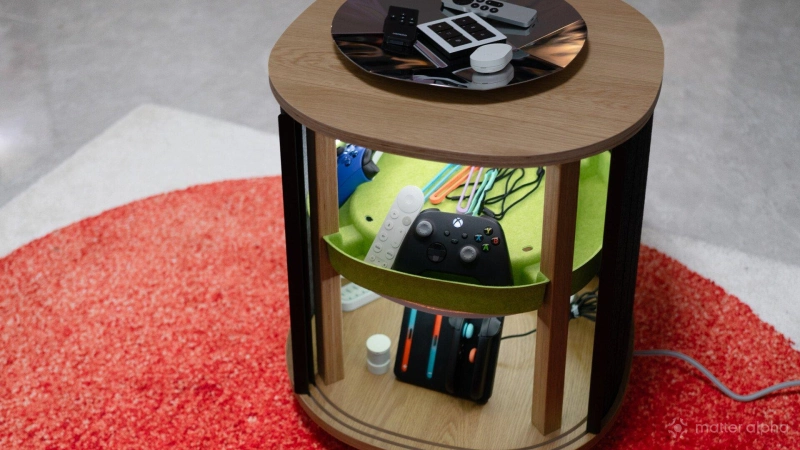
IKEA’s new YXSTABY collection, developed with Xbox, brings some interesting furniture designs to gaming spaces. One piece that caught my attention was the gaming side table, which offers a flexible place to store controllers, accessories and other gaming gear.
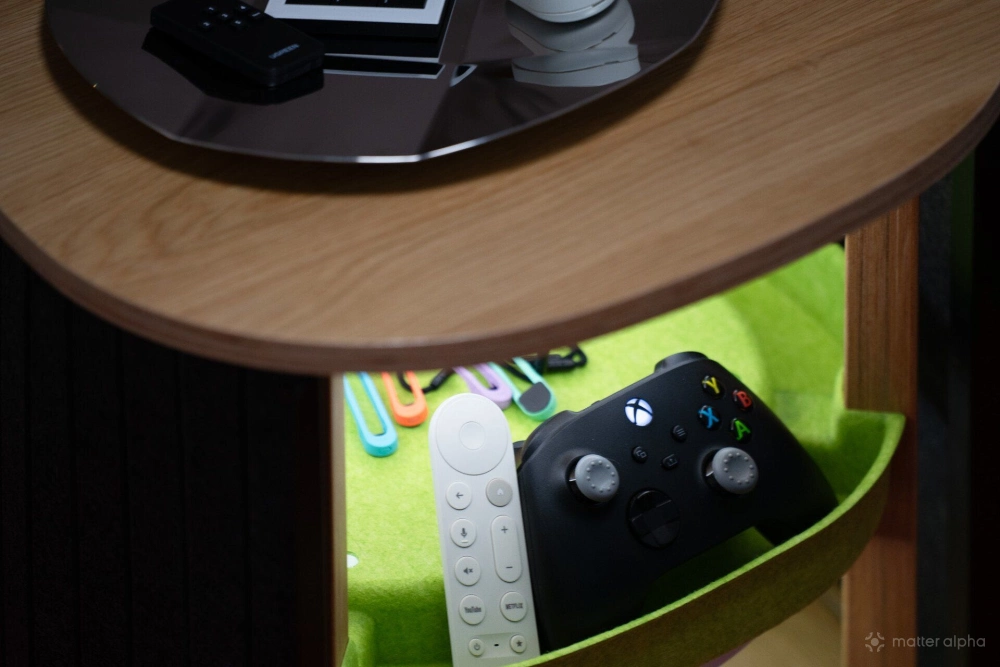
However, the enclosed storage space is rather dark, making it a perfect place for some ambient lighting. With a Govee COB light strip, a few small 3D-printed fixtures and Matter, you can give the table a colorful glow that works with your existing smart home.
Here is how I modified mine, without drilling extra holes or making permanent changes to the furniture.
What you need
-
IKEA YXSTABY gaming side table
-
Govee COB Strip Light 2 Pro
-
3D printer and PETG or PLA filament
-
A Matter-compatible smart home platform
-
Optional: Matter motion sensor and energy-monitoring smart plug
Difficulty: Easy to moderate. No soldering or permanent modification is required, but you will need access to a 3D printer.
Prepare the table
If you have already assembled the table, you can skip this section and move on to installing the fixtures. The installation will be a little more troublesome, as you will need to move the sliding panel around to access the mounting points.
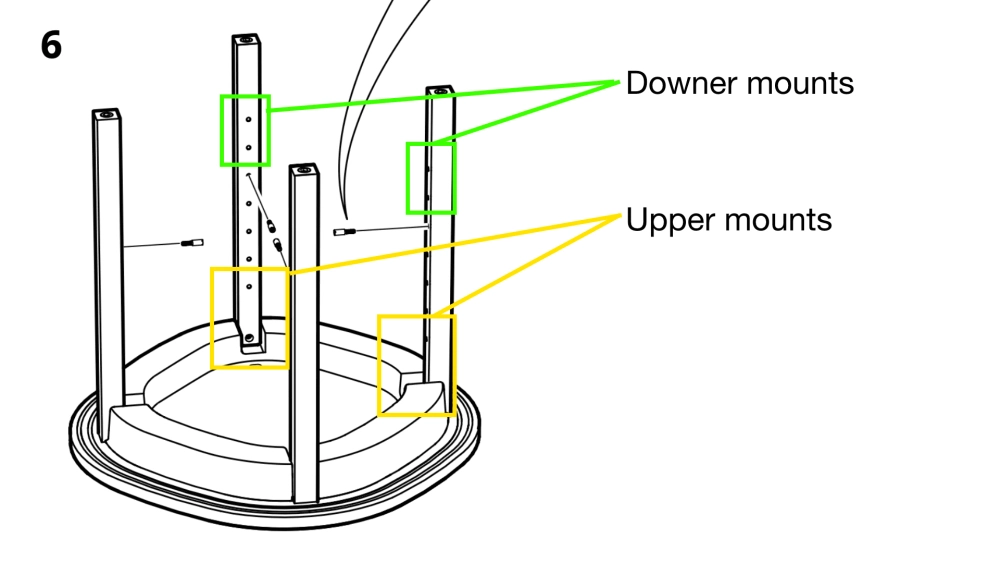
Otherwise, follow IKEA’s official assembly guide through step six. Stop before installing the bottom panel and feet, as leaving these parts open makes it much easier to route and secure the light strip.
For this project, I used the Govee COB Strip Light 2 Pro. Unlike conventional LED strips, COB lighting produces a more continuous glow with fewer visible individual LEDs. It also supports flowing multicolor effects, making it a good fit for gaming ambiance.
The main challenge is installation. COB strips are relatively thick and elastic, making them harder to bend around tight corners. Their adhesive backing also isn’t ideal for every surface, particularly the wooden parts of the table.
Instead of relying on the adhesive, I designed a set of small fixtures that fit into the table’s existing screw holes and hold the strip in place.
Print and install the fixtures
I’ve uploaded the fixture designs to MakerWorld, where you can download the print files and use them with your own 3D printer. There are two versions – the upper and lower mounting points – with four pieces of each needed for the table.
I printed mine on a Bambu Lab P2S using Bambu’s translucent PETG filament. PETG offers a good balance of strength and flexibility, allowing the fixtures to grip the light strip while fitting snugly into the mounting holes.
PLA should also work, although the fit may vary slightly. Make sure to enable supports in your slicer before printing.
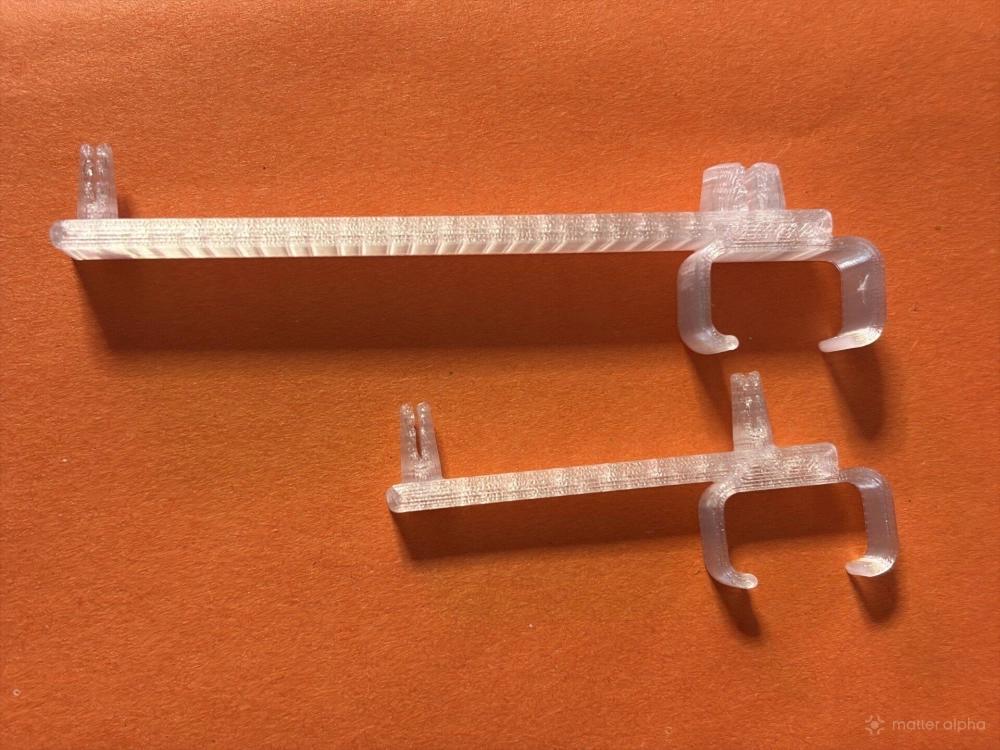
Start with the upper mounting points near the tabletop. You will find a set of larger screw holes marked 10149999 in the IKEA assembly guide. Push the four corresponding fixtures into these holes.
Next, install the four smaller fixtures in the lower section, near the screws marked 112366, which you installed in step six.
The fixtures should hold firmly without additional screws or glue. If you are using PLA and find that a fixture is slightly loose, a thin layer of tissue around the mounting end can help tighten the fit.
Install the light strip
Start with the end of the Govee strip connected to its power cable. Insert it into one of the lower fixtures, with the strip facing inward toward the center of the table.
If you haven’t installed the side panels yet, you can start from any of the four corners. Just keep the power cable’s final position in mind when you assemble the remaining panels.
Continue around the lower section, securing the strip to the other three fixtures. Then carefully guide it upward toward the upper mounting points.
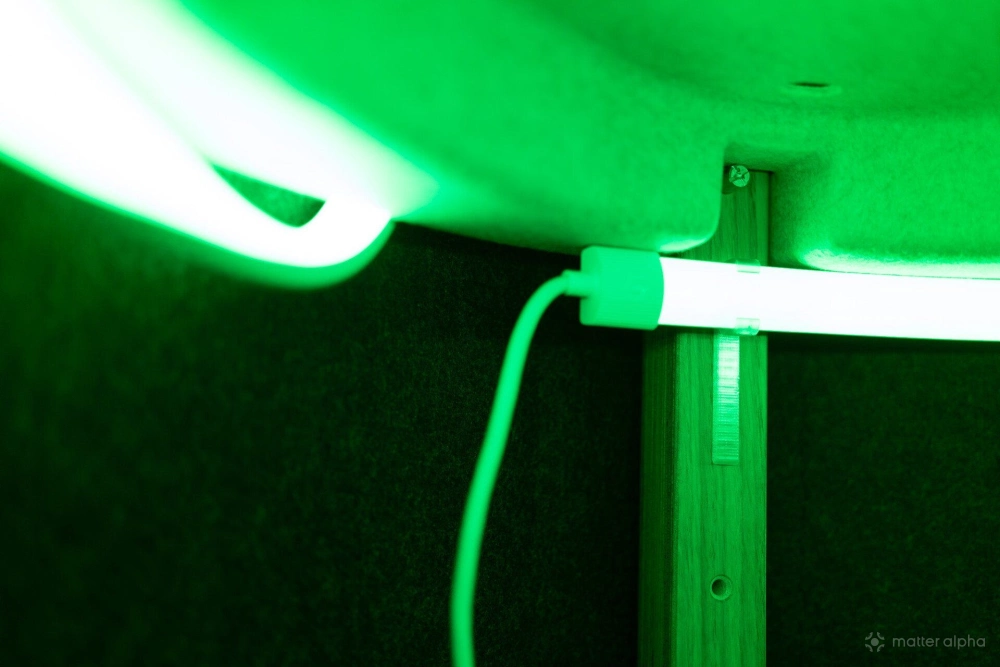
Before securing the upper section, move the fabric middle panel down until it rests against the screw limiters. This gives you more room to work with the strip and helps you position it correctly.
Now secure the remaining strip around the upper fixtures. Try to form a relatively large circle rather than forcing the strip into sharp bends. Its natural elasticity will help maintain the circular shape and keep it firmly seated in the fixtures.
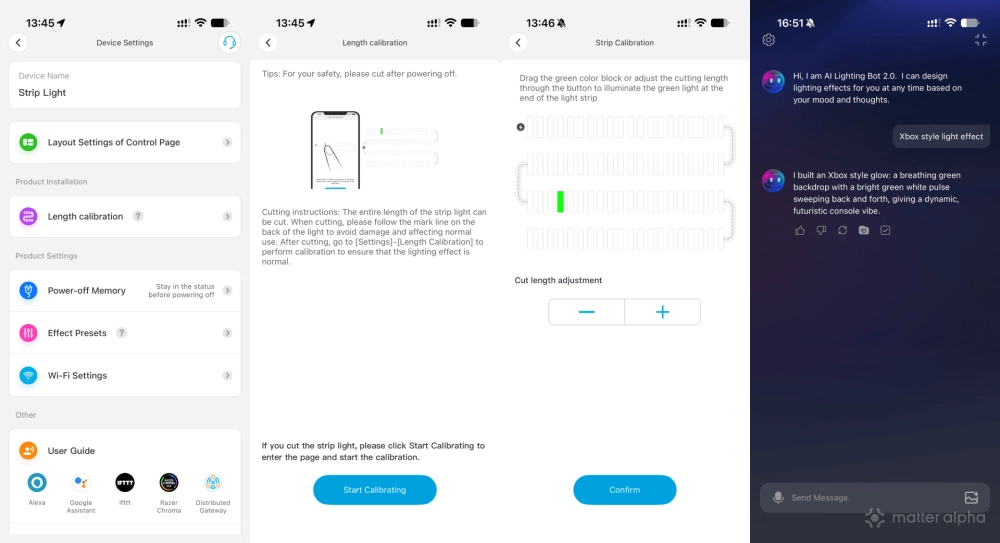
Once everything is in place, trim the unused length. The Govee COB Strip Light 2 Pro has designated cutting marks on the back, so make sure to disconnect the power and cut only at one of these points. The removed section cannot be reconnected.
Finish assembling the table
If you started with an assembled table, you can skip this section. Otherwise, return to IKEA’s assembly guide and complete the remaining steps.
Pay particular attention to the bottom panel’s orientation. The hole in this panel is intended for cable routing, so position it toward the back of the table, where the largest fixed side panel will be installed.
Run the Govee power cable through this opening before closing the bottom section. You should now have a circular strip of lighting hidden inside the table, with the power cable exiting neatly through the back.
Set up Matter and customize the lighting
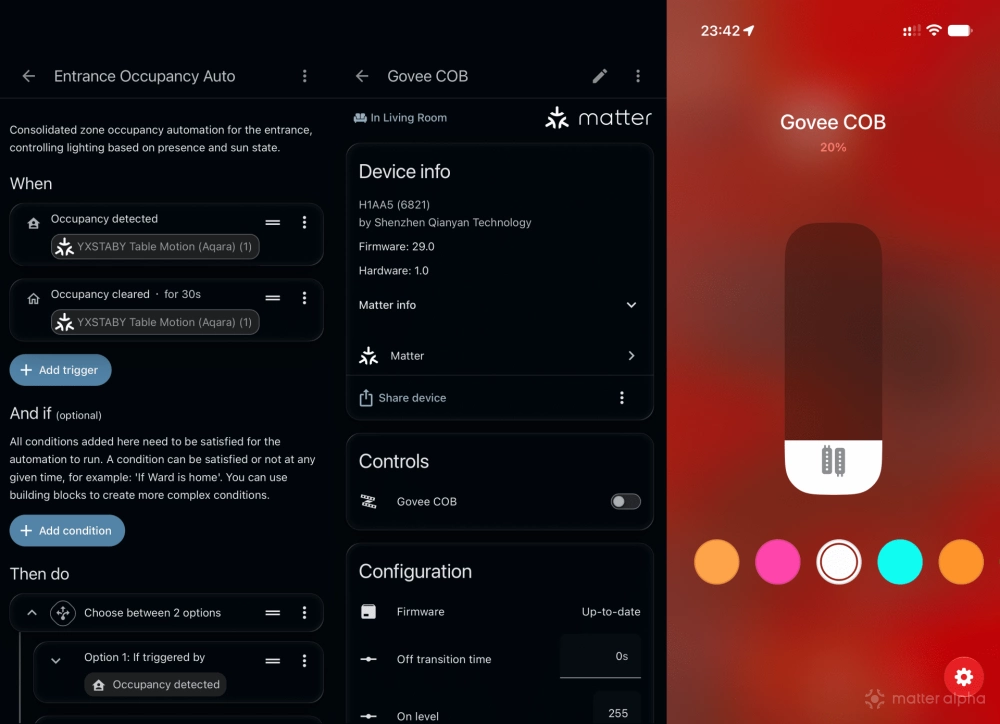
Power on the Govee strip and add it to your preferred Matter-compatible platform, such as Apple Home, Home Assistant or SmartThings.
Once paired, you can control basic lighting functions alongside your other Matter devices, including power, brightness and color.
Next, open the Govee Home app to recalibrate the strip’s length. This is particularly important because we trimmed the original strip to fit the table. Follow the app’s calibration guide to match the lighting effects to the remaining length.
The Govee app also gives you more advanced lighting controls, including multicolor effects and customized animations that aren’t exposed through Matter.
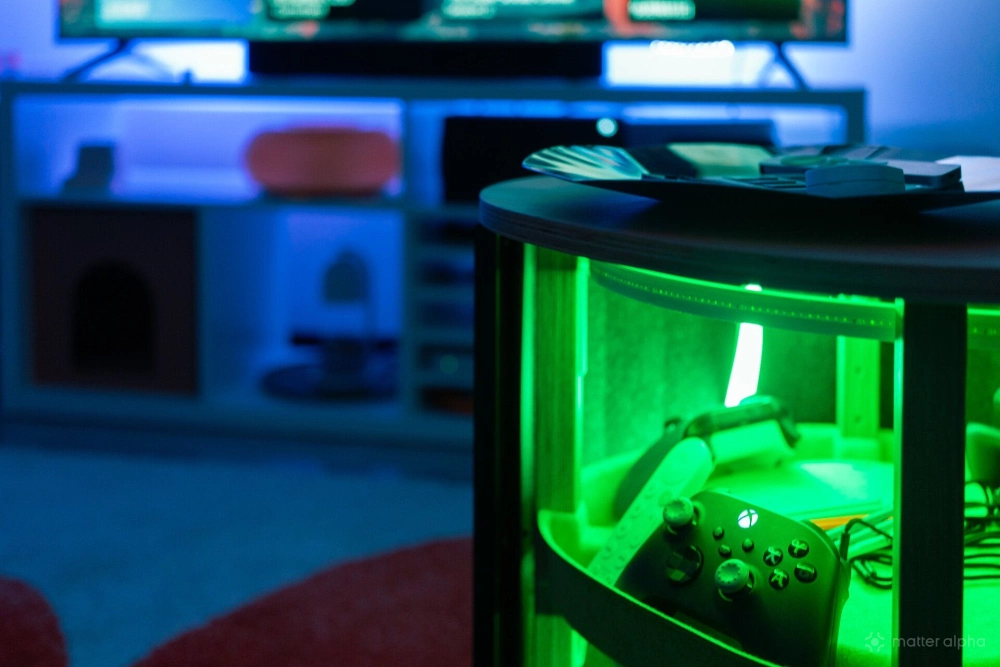
For my setup, I used Govee’s in-app AI feature to generate a lighting effect combining glowing white and Xbox green. It gives the table a recognizable gaming look without making the lighting too distracting.
Add motion and charging automations
With Matter, you can also make the table’s lighting respond to your gaming habits.
One simple addition is a motion sensor, such as the Aqara Motion and Light Sensor P2 or one of IKEA’s Matter motion sensors. Place it near the table and create an automation in your smart home platform to turn on the Govee strip when motion is detected. You can also set a delay to turn off the lights when the area is no longer in use.
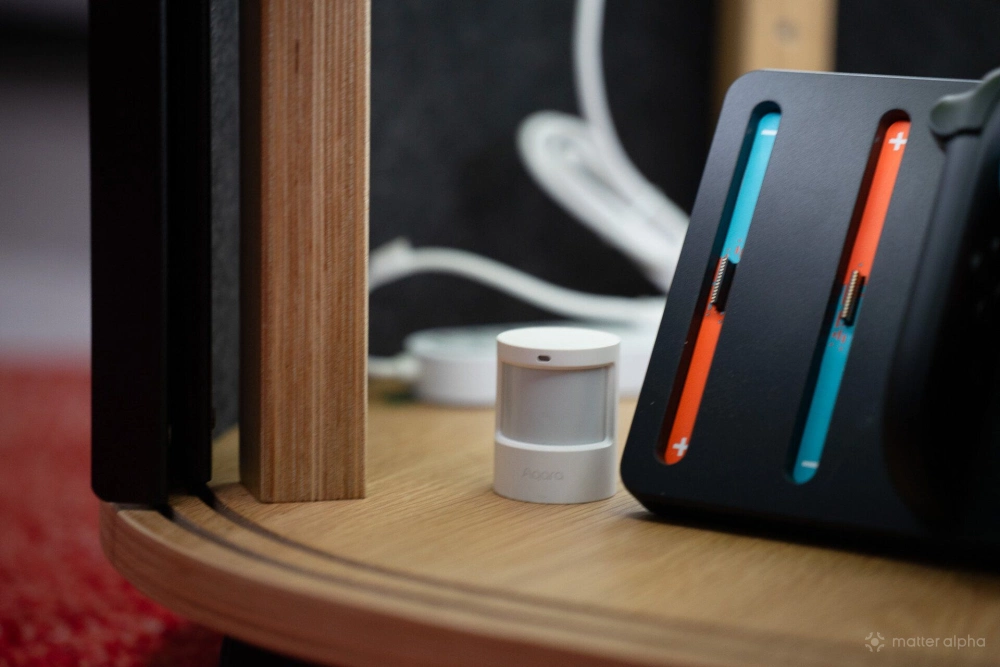
Another useful addition is an energy-monitoring smart plug, such as IKEA’s Matter-compatible GRILLPLATS. If you use the table to charge your Xbox controllers, you can connect the charger through the plug and monitor its power consumption.
In Home Assistant, for example, you can create an automation that cuts power when consumption drops below a certain threshold for several minutes, which may indicate that the controller is nearly fully charged. The exact threshold will depend on your charger and controller, so you will need to observe their power readings first.
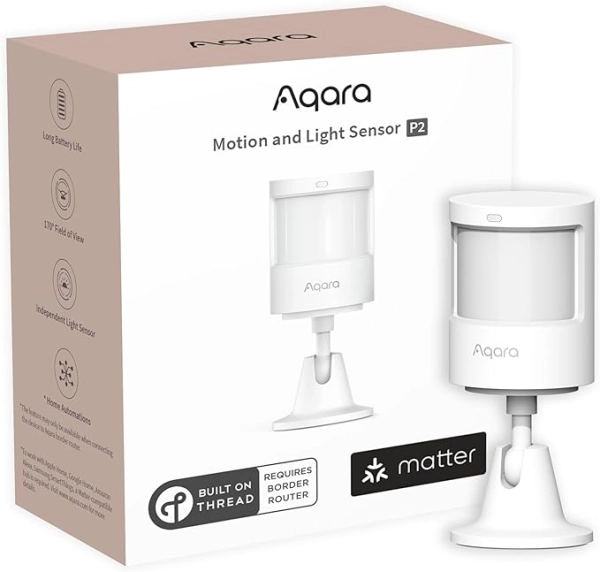
Aqara Motion and Light Sensor P2
The Aqara Motion and Light Sensor P2, part number AS057, is a unique component of the Aqara smart home ecosystem, offering compatibility with the Matter protocol, and providing seamless integration with popular virtual assistants for enhanced home automation.
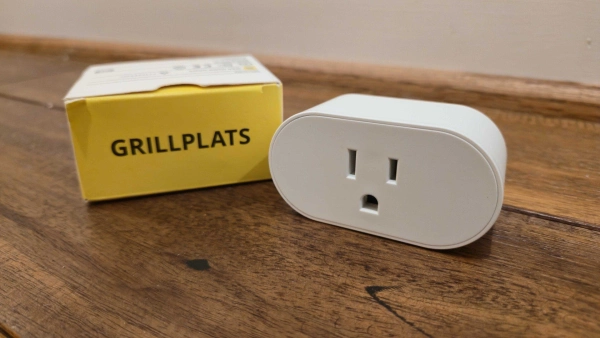
GRILLPLATS Smart Plug
A smart Matter over Thread plug with power meter support.
These additions are optional, but they make the table more useful beyond its new lighting. You can combine the lighting and charging routines with other Matter devices, without tying the basic controls to a single manufacturer’s app.
The result is a simple furniture upgrade that makes much better use of the YXSTABY table’s interior. As it is a short table, the lighting stays mostly hidden, the original design remains intact, and Matter lets you control it as part of a larger smart home setup.
(Image: Matter Alpha/Ward Zhou, IKEA)