Home Assistant can be a bit more intimidating than other smart home platforms, but it's not hard to use once you know your way around it. If you're looking to add smart lights to Home Assistant, or you're getting a feel for the process before making a purchase, here's what you need to know.
What type of hardware do you need?
Home Assistant is a smart home platform you can install yourself, for free, on hardware you already own. Instructions are available on the Home Assistant website. Or you can do what I did and buy a hub that's already configured, known as Home Assistant Green. Whichever approach you take, the software is the same, so my review of Home Assistant Green will provide you with an idea of what to expect. 
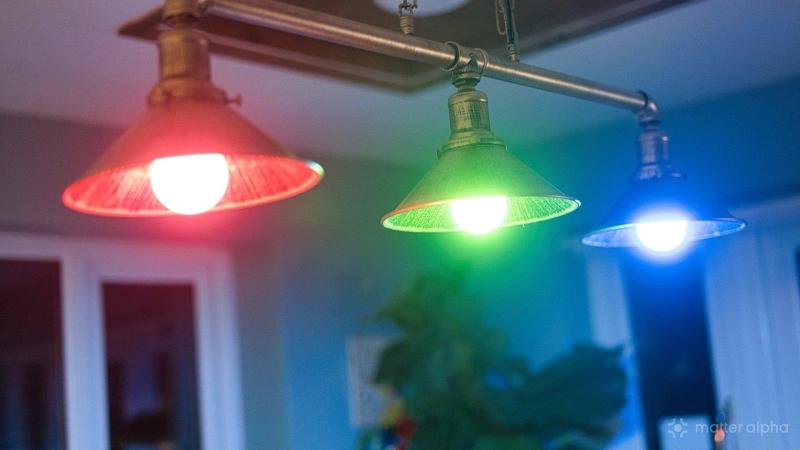
You will also need to purchase a smart bulb. While Home Assistant can connect to virtually any smart bulb with enough effort, we recommend saving yourself the trouble and choosing a Matter-compatible bulb. Some bulbs, like those from Philips Hue, require a separate hub that manages the lights. Others, like TP-Link Tapo bulbs, connect directly over Wi-Fi.
The only other equipment you need, you likely already have--namely an internet connection and a Wi-Fi router.
Set up the Home Assistant app
Once you have Home Assistant installed and running, you can access the interface via a web browser by going to http://homeassistant.local:8123/. You will then see an onboarding wizard that's pretty straightforward, and the official Home Assistant onboarding instructions are pretty easy to follow.
If you don't want to use your browser to access Home Assistant, you can install the Android or iOS app on a phone or tablet. I personally use an Android phone, so those are the screenshots you will see. But the instructions are largely the same whether you're using the browser or an iPhone instead.
Adding a smart bulb to Home Assistant

To connect a new bulb:
- Click or tap on the three tops in the top-right corner.
• How to control your smart bulb. Then select Add to Home Assistant.
• Tap Add Device.
• Choose Add Matter device.
• Select No. It's New. If the device isn't new and is already in use with another smart home platform, you'll need to learn how to use Matter's multi-admin feature to share devices across ecosystems.
• Scan the QR code that come with the bulb. If you do not have a QR code, figure out how to find your bulb's Matter pairing code, then click Set up without QR code.
• Home Assistant will then add the bulb to your smart home, eventually prompting you to give the bulb a name and assign it to a room. The bulb will then appear on your Home Assistant dashboard.
How to Control Your Smart Bulb
The most straightforward way to toggle a bulb on or off is to tap the toggle on the Home Assistant dashboard. 
You can dive into Home Assistant's settings and set up an automation, so your bulbs light up on a schedule or when triggered by a motion sensor.
You can set up voice assistants and control lights via your voice.
You can also control lights from a smartwatch.
Each of these warrants its own separate tutorial, but from here, it's off to the races. Feel free to add more bulbs or, if you own your home, consider installing a smart switch instead. It turns out, installing a smart switch is easier than you think.