While Thread radios are often built directly into smart home hubs, there are situations where a separate, dedicated dongle offers better placement and wiring flexibility. That’s where a Thread dongle with a Power over Ethernet (PoE) or Wi-Fi connection comes in handy.
This guide will walk you through setting up a PoE Thread dongle (using the Sonoff Dongle Max as an example) in Home Assistant, including the steps to configure the Thread radio.
Prerequisites
To get started, you will need:
-
Home Assistant OS or Home Assistant Supervised installed and connected to your local network via Ethernet or Wi-Fi.
-
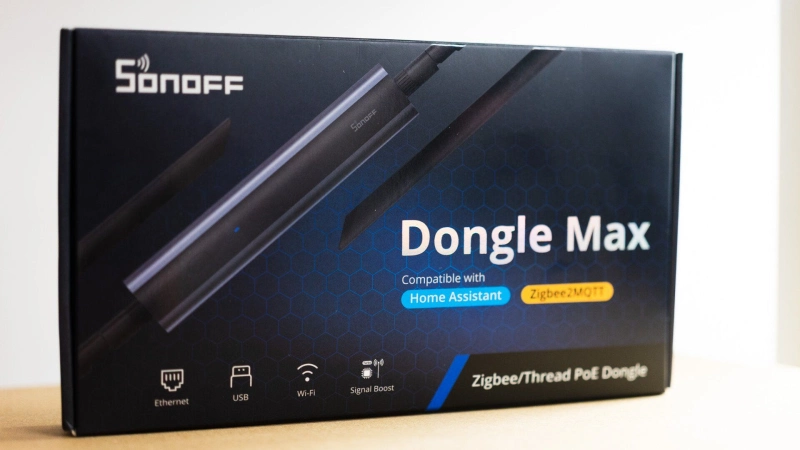
A network-attached Thread dongle like the Sonoff Dongle Max or SLZB-06, powered on and connected to your local network.

Set up your dongle
These dongles use an IEEE 802.15.4 radio, which allows them to work with both Thread and Zigbee, making them multifunctional. For this guide, we need to ensure the dongle is running Radio Co-Processor (RCP) firmware for Thread.

Once your dongle is powered on and connected to your network, log in to its web console. For the Sonoff Dongle Max, the default address is http://dongle-m.local. If that domain doesn’t work, find the dongle’s IP address in your router’s admin panel. It’s highly recommended that you assign a static IP address (sometimes called a “preserved” or “reserved” IP) to the dongle in your router’s settings so it doesn’t change.

Once you’re on the web page, find the tab labeled “EFR32MG24 Operation Mode”. Toggle on “Thread RCP Mode” if it isn’t enabled by default. The dongle should automatically download and flash the correct firmware to the radio chip.

When the flash is complete, switch to the “Z2M&ZHA” tab and click “Zigbee2MQTT”. Under the TCP connection settings, note the serial port number (for example, mine is 6638). Ignore the baudrate field in the web console – it is often incorrect for this setup.

Install OpenThread Border Router in Home Assistant
In your Home Assistant dashboard, navigate to Settings > Add-ons > Add-on Store. Search for and install the OpenThread Border Router add-on. If it isn’t listed, click your user profile icon in the bottom-left corner and toggle on “Advanced Mode”.

After a few minutes, go to the add-on’s page and click the Configuration tab.
Under the “Device” option, select the plain serial device path from the dropdown menu (avoiding any options with extra descriptions or names of devices plugged directly into your host machine).
Set the “Baudrate” to 460800 if you are using the Sonoff Dongle Max or another dongle based on a Silicon Labs MG21/24 chip.
Click Save.
Click the three-dot menu in the top-right corner and select Edit in YAML.

In the options: section, add the following line, replacing the address and port with your dongle’s details:
network_device: dongle-m.local:6638
Click the Save button below the YAML editor.
(Optional): To access the OpenThread web interface, go to the “Network” section, turn on the Show disabled ports toggle, and enter 8080 and 8081 in the fields. This gives you more advanced control over your Thread network.

Once you are done, go back to the “Info” tab of the add-on and start it.

Check the “Log” tab to ensure it is working as expected. You should see a line that says, INFO: Successfully sent discovery information to Home Assistant.

If that appears, return to the “Info” tab and toggle on the Start on boot and Watchdog options. This ensures the Border Router will launch automatically on boot and restart if it crashes.
Configure Thread
Go to Settings > Devices & Services. You should see two new integrations: Thread and OpenThread Border Router. Click on Thread. From there, you should see a newly created Thread network, usually with a name starting with ha-thread-.

You can make this a preferred network for Home Assistant to add new Matter and HomeKit devices to. If you already have a Thread network in use, click Add to preferred network, and the border router will automatically join it.

At this point, your network is ready to use. For more detailed tricks on adding new devices with the Thread Border Router in Home Assistant, check out these articles:
(Image Source: Matter Alpha/Ward Zhou)